 Photography 101: What Makes a Good Photo?
The best way to remember your study abroad experience is through pictures. The people you meet and the places you visit are never as vivid in your memory as they are on a glossy print. Here at CEA, we love to flip through our photo albums of backpacking trips, road trips and other vacations we took while on our own overseas study abroad trips. Whether you’re backpacking through Central America while you study abroad in Costa Rica or hopping around Europe with cheap study abroad airfare, you’ll appreciate great photo skills. Even if you’re a novice photographer, you can still to take great shots while you study abroad – without spending all your cash on a fancy camera. Expensive cameras give you more control over your subject and focus, but you can still take great pictures with just a cheap disposable. Just follow the steps below for simple advice on how to compose a great photo on your study abroad trip.
Rule of Thirds
This is the first rule of photography. Imagine dividing your composition into three equal parts both vertically and horizontally. Your audience’s eyes are naturally drawn to the four points where these lines intersect, so the horizon of your picture or any other strong vertical elements should fall along these lines. Try not to place the horizon or your photo’s subject in the dead center of the picture – this approach tends to result in boring and lifeless photography.

Diagonals
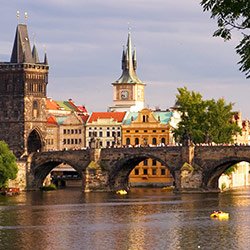
When composing your picture, seek out diagonal lines in your subject matter. This doesn’t mean you should turn your camera to a 45-degree angle; instead, use a road, fence or even the horizon (such as a mountain or hill in the background) to cut across some or all of your picture. Diagonals add dimension and interest to your photo and can be a great way of adding depth. Use diagonals of color, shape and shadow to break up the space in your picture.
Subject
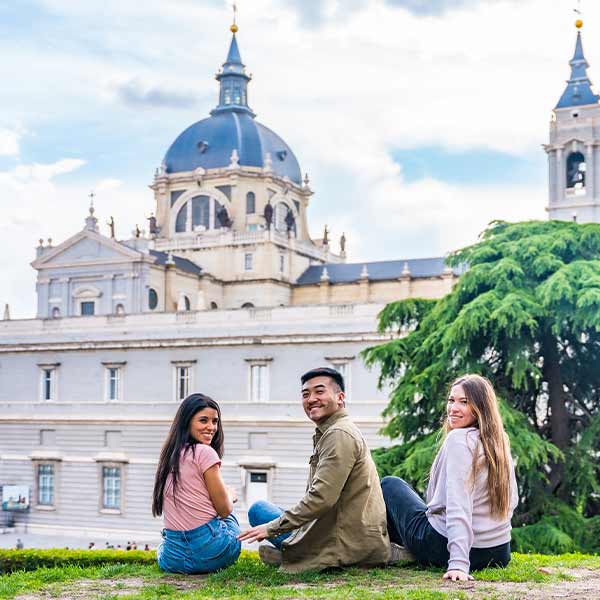
Take a few seconds to compose your picture. First, pick a clear subject or point of interest – with so much to see on your study abroad, this should be easy. Whether it is a building, person, animal or clump of flowers, the subject should be prominent, giving your viewer’s eye a place to rest. Follow the rule of thirds to add interest to your composition. If your subject is in motion (a person, dog or car), leave room in the composition for the subject to go.

Depth of Field
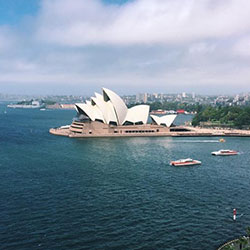
To avoid a flat-looking picture, you want to create depth. If you are taking a landscape photograph of something far away, like a mountain, include foreground objects like a tree, flowers or interesting group of rocks at the bottom of your composition. This adds interest and depth to your photo. In a landscape photo, you can add people to give a sense of scale to your photograph. Be creative with angles. Looking down from overhead or up from below offers an unexpected but eye-catching vantage point.
Lighting
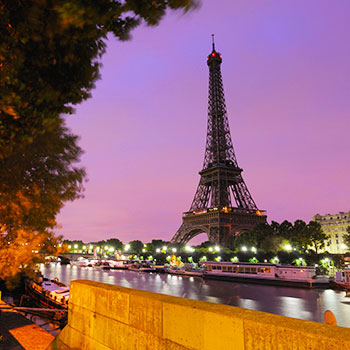
The ambiance of a rising sun, the brilliant hues of sunset, the high contrast of light and dark, and the soft, gentle tones of a cloudy day can turn ordinary pictures into exceptional ones by revealing the atmosphere, mood and drama of your subject. Direct sunlight causes harsh shadows and usually doesn’t make for flattering portraits or landscape photos. For outdoor photos, partly cloudy to cloudy days are best. If you have to take pictures in full sun, take notice of how light and shadows affect the features of your subject’s face. Adjust either your subject’s position or yours in relationship to the sun to compensate for any undesirable effects. If you can find a shady spot, your portraits will be much more flattering. Use the flash for close-up photos where shadows may be present (10-15 feet). However, too much light can overexpose your photos, so take two: one with flash and one without. If your camera has a “fill” flash setting, this is what its intended purpose is. In most cases, however, outdoor photos are best with natural light. Professional photographers will tell you the best light is in the early morning, shortly after sunrise, or late afternoon, a little before sunset. This creates softer lighting and long, dramatic shadows. It also gives more dimension to your subject, allowing his or her character to shine through, whereas the harsh overhead lighting of midday can leave your subject looking flat. If you have the option, this is the time to capture award-winning photos of your study abroad adventure.
Weather Don’t leave your camera at home just because the raindrops are falling. Rainy or foggy conditions can produce photos that are much more interesting than ordinary vacation snapshots. For dramatic shots, capture the moment when light suddenly breaks through clouds, or as fog is rolling in or evaporating. Cloud formations can also add interest and drama to otherwise mediocre compositions. If possible, add a spot of color to your composition, such as a vibrant garden, a brightly colored building or your best friend’s bright-yellow raincoat. Now that you know the basics of photo composition, it’s time to learn the details: what equipment to buy before you study abroad and how to start snapping great photos. Read Study Abroad Photography 102 for another installment of great advice, and apply now to study abroad with CEA.

